
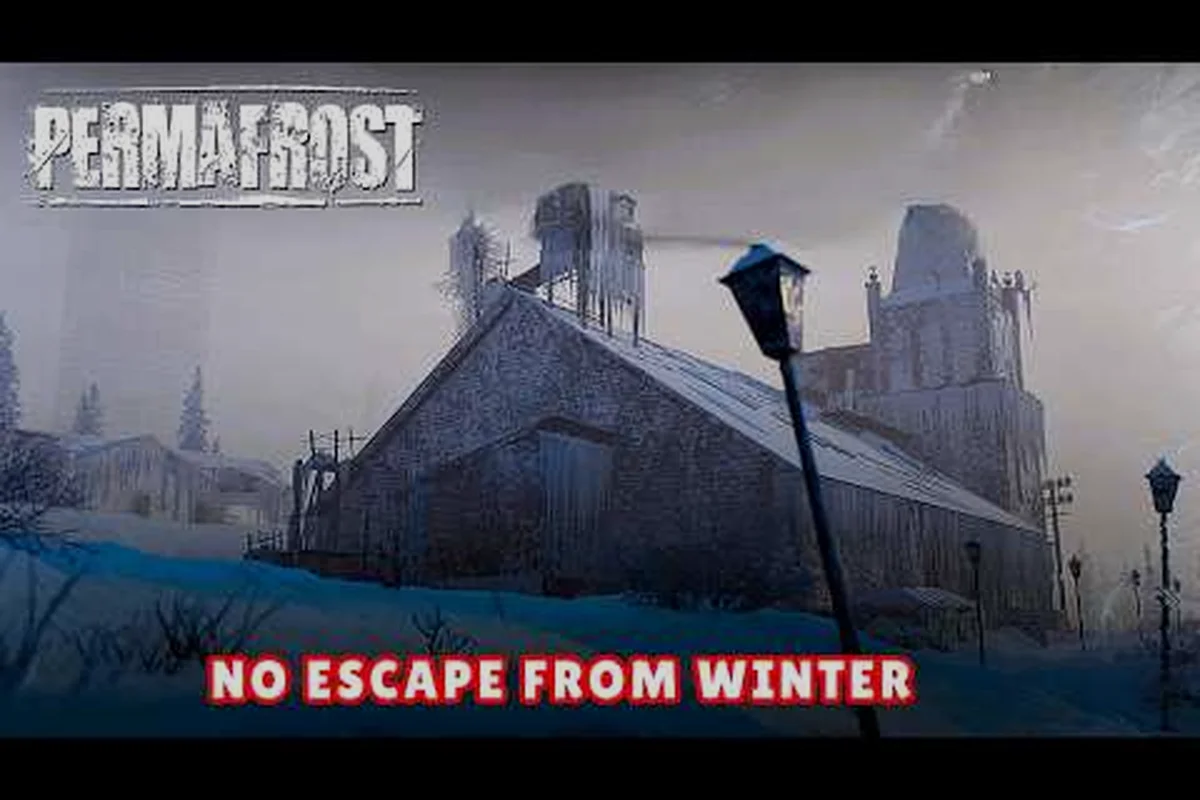
Understanding how zone levels and gear checks interact determines whether your expedition ends in a successful haul or a frozen corpse. This permafrost region guide breaks down the tier structure, access requirements, and packing logic so you can push into high tier cold zones without losing hours of progress to a single miscalculated step.
Zone Level Structure and Cold Tier Progression
Permafrost does not broadcast zone levels on your map. Instead, the game communicates danger through environmental density, wildlife aggression, and the rate at which your body temperature drains. Community testing across the Early Access build has identified a consistent tier curve that matches the official Steam description of a world where "the cold itself is your deadliest enemy." According to the Permafrost on Steam page, the open world is buried in ice and designed around extreme weather, hunger, and exhaustion rather than simple combat gates.
The practical result is that permafrost zone levels function as a soft progression system. You can technically walk into any region at any time, but your survival window shrinks dramatically when your gear falls below the zone's expected threshold. Players report that the first two zones tolerate improvised clothing and scavenged tools, while the third zone onward punishes any gap between your insulation rating and the ambient cold.
| Zone Tier | Expected Player Level | Temperature Drain Rate | Recommended Insulation | Primary Threat |
|---|---|---|---|---|
| Tier 1 (Outskirts) | 1-5 | Low | 20+ | Wolves, exposure |
| Tier 2 (Frozen Forest) | 5-12 | Moderate | 40+ | Bear patrols, blizzards |
| Tier 3 (Buried City) | 12-20 | High | 60+ | Stalker packs, whiteout events |
| Tier 4 (Deep Permafrost) | 20+ | Extreme | 80+ | Cold snap bursts, elite wildlife |
The tier curve is not a hard level gate. A skilled player with strong map knowledge can sprint through a Tier 3 zone at level 10, but the margin for error shrinks to nearly zero. The real gate is your insulation rating, which acts as the hidden gear check that most new players ignore until their first whiteout death.
Gear Check Fundamentals for Cold Zone Access
Before you attempt to access high tier cold zones, you need to understand what the game actually checks. Permafrost does not show a single "gear score" number. Instead, it evaluates three separate systems simultaneously: insulation rating, weather resistance, and mobility penalty. Each piece of clothing contributes to all three, but no single item excels at everything.
The most common failure pattern reported by players is over-investing in insulation while ignoring mobility. A full set of heavy fur armor might push your insulation to 90, but the mobility penalty slows your sprint speed enough that a bear patrol closes distance before you can reach cover. The gear check is therefore a balance problem, not a raw number problem.
| Gear Slot | Insulation Contribution | Weather Resistance | Mobility Penalty | Priority for Tier 3+ |
|---|---|---|---|---|
| Head | 10-20 | High | Low | High |
| Torso | 20-35 | High | Medium | Critical |
| Legs | 15-25 | Medium | Medium | High |
| Hands | 5-10 | Low | Low | Medium |
| Feet | 10-15 | Medium | Medium | High |
| Back (pack) | 0-5 | Low | Variable | Low |
The table reflects community testing as of the current Early Access build. Exact numbers may shift with patches, but the relative priority order has remained stable. Your torso slot provides the largest insulation contribution per weight unit, which is why experienced players upgrade their chest piece before anything else.
Reading the Hidden Gear Check
The game never tells you that you failed a gear check. Instead, failure manifests as a rapid cascade of survival debuffs. Your body temperature drops faster than your food bar can compensate, your stamina regeneration slows, and your character begins shivering, which introduces aim sway and interaction delays. When you see all three symptoms together, you have entered a zone above your current gear threshold.
A practical self-test is to stand still in the target zone for 60 seconds and watch your temperature bar. If you lose more than 25% of your heat in that window without a heat source, your gear is insufficient for extended exploration. This test costs nothing and prevents the most common expedition failure: walking deep into a zone, then realizing you cannot survive the walk back out.
Planning Your First High Tier Expedition
Permafrost trip planning is not about picking a destination. It is about calculating your heat budget, your food-to-distance ratio, and your emergency retreat window. Every high tier zone in Permafrost is designed around the assumption that you will need to retreat at least once before reaching your objective.
The heat budget is the most important number to calculate before leaving your base. Your clothing provides passive insulation, but active heat sources like portable stoves, chemical warmers, and campfires extend your safe travel time. Community data suggests that a Tier 3 expedition requires at least two active heat sources plus a full set of Tier 2-appropriate clothing to maintain a positive heat budget for more than 15 minutes of travel.
| Expedition Factor | Tier 1-2 Requirement | Tier 3 Requirement | Tier 4 Requirement |
|---|---|---|---|
| Active heat sources | 0-1 | 2-3 | 4+ |
| Food units per hour | 2-3 | 4-6 | 6-8 |
| Water units per hour | 1-2 | 2-3 | 3-4 |
| Emergency shelter materials | Optional | Required | Critical |
| Retreat distance buffer | 25% of travel time | 35% of travel time | 50% of travel time |
The retreat distance buffer is the number most players forget. If you plan a 20-minute push into a Tier 3 zone, you need to reserve enough heat, food, and stamina to cover 7 minutes of retreat. This means your actual forward progress is only 13 minutes before you must turn around. Ignoring this buffer is the leading cause of high tier deaths reported in community discussions.
Route Selection and Landmark Navigation
High tier zones in Permafrost are not linear. The Buried City, for example, contains multiple vertical layers connected by collapsed structures and ice bridges. Choosing the wrong route can triple your travel time and exhaust your heat budget before you reach a single loot cache. The permafrost map guide covers biome boundaries and landmark positions in detail, which is essential for planning routes that minimize exposure time.
When planning a route, prioritize wind-blocked corridors over open ice fields. The game's weather system applies a wind chill multiplier that can double your temperature drain rate in exposed areas. Buildings, rock formations, and even dense tree clusters provide partial wind protection. A route that adds 20% more distance but keeps you in wind-blocked cover for 80% of the journey is usually safer than a direct path across open ground.
What to Pack for Cold Zone Survival
The question of permafrost what to pack has a simple answer that most players overcomplicate. You need four categories of items: heat management, nutrition, navigation, and emergency tools. Everything else is optional weight that slows you down and increases your food consumption rate.
Heat management items are non-negotiable. A portable stove with fuel, two chemical warmers, and materials for at least one emergency campfire should be in every expedition pack. The stove provides sustained heat during rest stops, while chemical warmers offer instant temperature recovery when you get caught in a sudden cold snap. Campfire materials are your last-resort option when everything else is exhausted.
| Pack Category | Essential Items | Optional Upgrades | Weight Cost |
|---|---|---|---|
| Heat management | Portable stove, 2 warmers, fire starter | Insulated thermos, extra fuel | 4-6 kg |
| Nutrition | Dried meat, energy bars, water flask | Cooked meals, vitamin supplements | 3-5 kg |
| Navigation | Compass, map markers, signal flares | Binoculars, route notes | 1-2 kg |
| Emergency tools | Medkit, repair tape, spare knife | Climbing gear, signal beacon | 2-4 kg |
The weight cost column matters more than most players realize. Every kilogram over your comfort threshold increases stamina drain and reduces sprint duration. A pack that is 5 kg overweight can turn a survivable Tier 3 run into a death sentence because you cannot outrun a stalker pack when your stamina bottoms out.
Food and Water Math for Extended Trips
Nutrition planning for permafrost trip planning follows a simple rule: pack 50% more than you think you need. The game's hunger and thirst systems accelerate in cold environments, and the debuffs from malnutrition compound with cold exposure. A player who is both hungry and cold loses heat 40% faster than a player who is only cold, according to community testing.
The body temperature management guide explains the interaction between hunger, hydration, and heat retention in more depth. For expedition planning purposes, the key number is food units per hour. A Tier 3 expedition at moderate activity burns 4-6 food units per hour, which means a 30-minute round trip requires 12-18 food units minimum. Pack 18-27 units to maintain the safety buffer.
High Tier Zone Breakdown and Access Requirements
Not all high tier zones in Permafrost are equal. The Buried City and the Deep Permafrost are both Tier 3+, but they demand different preparation strategies. The Buried City favors vertical navigation and close-quarters awareness, while the Deep Permafrost is an open endurance test where wind chill and cold snap bursts are the primary killers.
Access to the Buried City typically requires completing a specific story checkpoint that unlocks the eastern gate. Players report that the gate can be bypassed with climbing gear, but the bypass route adds significant exposure time and drops you into the zone without a safe retreat path. The official Toplitz Productions announcement describes the world as a "white hell" where preparation matters more than combat skill, which aligns with community observations about zone access.
| High Tier Zone | Access Requirement | Recommended Level | Key Hazard | Best Loot Category |
|---|---|---|---|---|
| Buried City (Tier 3) | Story checkpoint or climbing bypass | 12-16 | Stalker packs, vertical drops | Electronics, rare tools |
| Frozen Harbor (Tier 3) | Ice bridge crossing | 14-18 | Thin ice, aquatic predators | Vehicle parts, fuel |
| Deep Permafrost (Tier 4) | Full cold weather gear set | 20+ | Cold snap bursts, elite wildlife | Endgame materials, blueprints |
The Frozen Harbor is often overlooked because it sits at the edge of the map, but it offers some of the best vehicle part spawns in the current build. The ice bridge crossing is the real gate: the bridge collapses after a set number of crossings, forcing you to find an alternate route or commit to a long stay. Players who understand this mechanic can farm the Harbor efficiently, while those who do not get stranded on the wrong side.
Cold Snap Bursts and Whiteout Events
The Deep Permafrost introduces cold snap bursts, which are sudden temperature drops that can drain 50% of your heat bar in under 30 seconds. These events are telegraphed by a sharp wind sound and a visual frost effect on your screen edges. The correct response is to immediately deploy a chemical warmer and seek wind-blocked cover, not to run for the zone exit.
Whiteout events are different. They reduce visibility to near zero and disable your map markers, forcing you to navigate by compass and memory. The looting guide covers how to use map markers effectively before you enter a zone, which becomes critical when whiteouts strip away your visual references. Players who place markers at regular intervals can navigate whiteouts safely, while those who rely on landmarks alone frequently walk in circles until their heat budget expires.
Frequently Asked Questions
What is the minimum gear level for Tier 3 zones?
You need at least 60 insulation rating across all clothing slots, plus two active heat sources, to survive extended Tier 3 exploration. A full set of Tier 2-appropriate clothing with one or two Tier 3 upgrades typically reaches this threshold. Attempting Tier 3 with less than 50 insulation results in rapid heat loss and frequent forced retreats.
How do I access the Deep Permafrost zone?
The Deep Permafrost requires a full cold weather gear set with 80+ insulation and completion of the Frozen Harbor story chain. The entrance sits at the far northern edge of the map, past the collapsed research station. Community reports confirm that the entrance is blocked by an ice wall that requires a specific tool from the Harbor questline.
What should I pack for a first Tier 2 expedition?
Pack a portable stove with one fuel canister, two chemical warmers, 12 food units, 8 water units, a compass, and a medkit. This loadout weighs approximately 12-15 kg and provides enough buffer for a 25-minute round trip with one emergency retreat. Skip heavy weapons and focus on mobility.
Can I skip Tier 2 and go straight to Tier 3?
Technically yes, but the gear gap makes it extremely risky. Tier 3 zones expect 60+ insulation, while most players leaving Tier 1 have 20-30. The heat drain difference means you will burn through your entire heat budget in under 10 minutes. Community data shows that players who skip tiers lose an average of 3-4 hours of progress to death loops.
How do I know if my gear check failed?
Watch for three simultaneous symptoms: rapid temperature drop exceeding 25% per minute, stamina regeneration slowing to a crawl, and visible shivering with aim sway. If all three appear, you are under-geared for the current zone. Retreat immediately to the previous tier and upgrade your torso and leg slots first.