
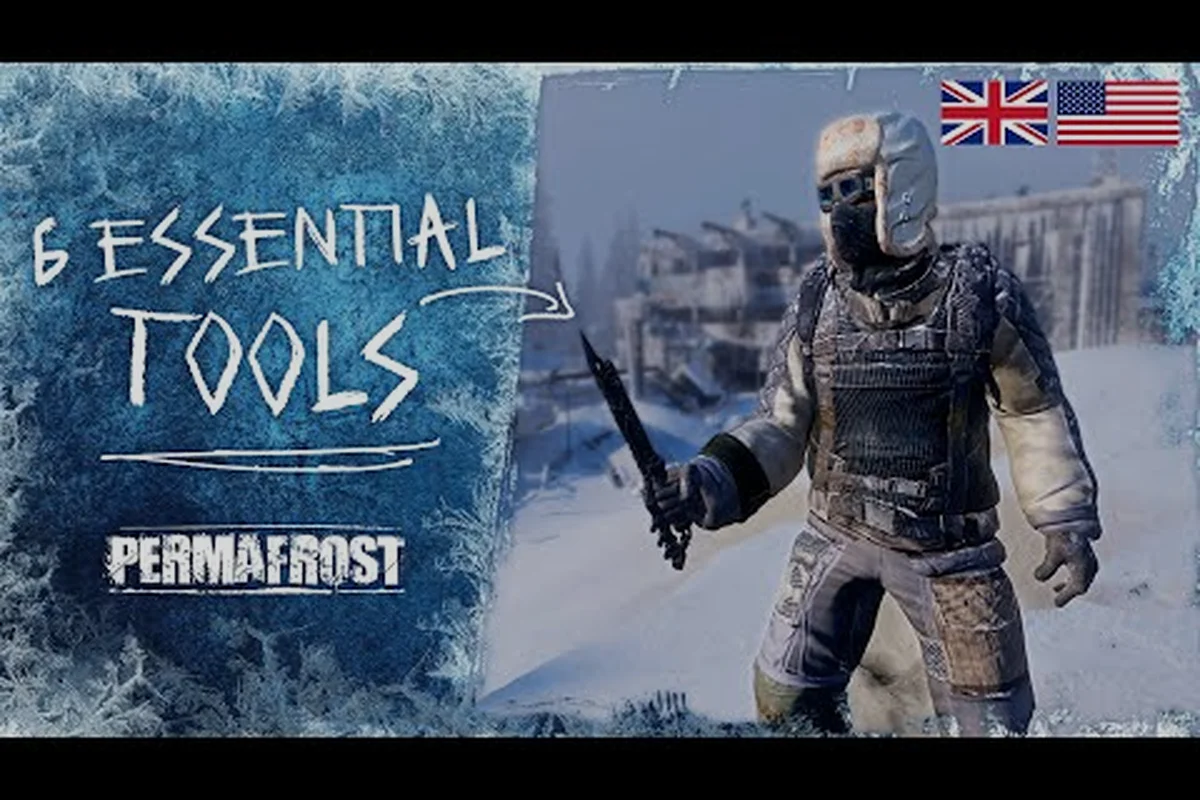
Surviving the endless winter means your tools and weapons take a beating every single day, which is why understanding permafrost equipment repair is the difference between thriving and freezing to death. Broken gear is not just an inconvenience in this frozen wasteland; it is a direct threat to your ability to hunt, scavenge, and defend yourself. This guide breaks down exactly how to keep your loadout functional, where to source replacement parts, and how to upgrade your way from fragile looted scraps to dependable cold-weather hardware.
Understanding Broken Gear and Durability Mechanics
Every piece of equipment in Permafrost carries a hidden durability value that degrades as you use it, and the rate of decay accelerates sharply when you push tools through extreme conditions. Chopping frozen wood, prying open ice-covered containers, and fighting off predators all chip away at your gear's integrity. When durability hits zero, the item becomes broken gear, which means it either stops functioning entirely or operates at a fraction of its original effectiveness.
The durability system punishes neglect because a broken weapon in the middle of a wolf attack is a death sentence. Community testing shows that most early-game tools lose roughly 15 to 20 percent durability per in-game day of heavy use, though this varies by material tier. Improvised stone tools break fastest, while forged steel holds up significantly longer. You can check an item's condition by opening your inventory and looking at the small integrity bar beneath each piece of equipment.
| Gear Tier | Base Durability | Repair Cost | Typical Lifespan |
|---|---|---|---|
| Improvised Stone | 40 | 2 scrap metal | 1-2 in-game days |
| Salvaged Metal | 80 | 4 scrap metal | 3-4 in-game days |
| Forged Steel | 150 | 8 alloy plates | 6-8 in-game days |
| Reinforced Composite | 220 | 12 composite fibers | 10+ in-game days |
The table above reflects community-reported averages from early access testing, and actual numbers may shift as the developers tune balance patches. What matters most is that repairing early is always cheaper than replacing later, because a fully broken item often requires double the materials to restore compared to a partially damaged one.
Reading the Integrity Bar Accurately
The integrity bar is not just a simple percentage readout; it changes color as your gear approaches failure. Green means the item is above 60 percent condition and working at full capacity. Yellow indicates the 30 to 60 percent range, where performance starts to dip slightly. Red means below 30 percent, and this is where tools begin to fail randomly during use.
A red integrity bar on your primary weapon is a warning you cannot afford to ignore. When an item enters the red zone, each subsequent use carries a small chance of a critical failure, which instantly drops durability to zero and may destroy the item outright. Players report that critical failures happen most often when using red-zone tools on high-resistance materials like frozen metal or dense ice.
The practical takeaway is simple: treat yellow as your maintenance window and red as an emergency. Waiting until a tool breaks completely wastes resources and leaves you vulnerable during the repair process, because you will need to either retreat to a workbench or carry backup gear.
Where to Find Weapons and Loot Gear Sources
Knowing where to find weapons is half the battle in Permafrost, because the frozen landscape hides valuable gear in places that are easy to miss if you do not know what to look for. The most reliable early sources are abandoned structures, which include collapsed cabins, old research stations, and the occasional buried vehicle. These locations often contain loot gear in the form of basic tools, clothing layers, and sometimes a functional firearm.
Scavenging is not just about walking into a building and grabbing what is on the floor. Many containers in Permafrost are frozen shut or locked, which means you need a crowbar, a heat source, or a specific tool to access them. Community data suggests that locked containers have a significantly higher chance of containing rare or intact equipment compared to open shelves, so investing in lockpicking tools pays off quickly.
| Loot Source | Common Finds | Rare Finds | Accessibility |
|---|---|---|---|
| Abandoned Cabins | Stone tools, cloth scraps | Salvaged metal tools | Low, needs crowbar |
| Research Stations | Lab equipment, medkits | Forged steel components | Medium, needs keycard |
| Buried Vehicles | Tire irons, fuel cans | Firearms, ammo boxes | Low, needs shovel |
| Military Outposts | Ammo, armor plates | Reinforced composite gear | High, heavily guarded |
The table above shows that higher-risk locations generally yield better permafrost loot gear, but they also demand more preparation. A buried vehicle might hold a rifle, but digging it out in sub-zero temperatures drains your stamina and body heat rapidly. Military outposts offer the best rewards but are typically patrolled by hostile survivors or wildlife, which means you need functioning weapons before attempting a raid.
Prioritizing Scavenging Routes
Efficient scavenging is about planning a route that maximizes loot density while minimizing exposure to the cold. Start your runs from a central shelter and work outward in a spiral pattern, because this lets you return to warmth quickly if a storm rolls in. Mark every location you have already cleared on your map, because revisiting empty buildings wastes precious daylight and calories.
The Permafrost tools and weapons list provides a detailed breakdown of every confirmed item in the current build, which helps you identify what is worth carrying and what should be left behind. Weight management matters because overloading yourself slows movement and increases calorie burn, which indirectly makes your gear degrade faster due to longer exposure times.
A practical rule from experienced players is to carry one primary weapon, one backup tool, and one repair kit at all times. This setup ensures you can handle unexpected encounters while still having the means to fix your gear in the field if something breaks mid-expedition.
Permafrost Upgrade Gear: From Scraps to Steel
Upgrading your equipment is not just about finding better loot; it is about transforming what you already have into something more reliable. The permafrost upgrade gear system lets you improve individual items through a workbench interface, provided you have the right materials and blueprints. Upgrades fall into three broad categories: durability improvements, damage or efficiency boosts, and special modifications like thermal insulation.
The upgrade path is not linear, which means you need to make strategic choices about where to invest your scarce resources. A reinforced handle on your axe might increase durability by 30 percent, but it costs metal that could instead go toward sharpening your knife for better skinning yields. Understanding these trade-offs is essential for long-term survival.
| Upgrade Type | Material Cost | Effect | Best For |
|---|---|---|---|
| Reinforced Grip | 3 scrap metal, 2 cloth | +25% durability | High-use tools |
| Sharpened Edge | 2 alloy plates, 1 whetstone | +15% damage | Hunting weapons |
| Thermal Coating | 4 composite fibers, 1 chemical pack | -20% cold drain | Clothing layers |
| Balanced Weight | 5 scrap metal, 3 leather | +10% swing speed | Melee weapons |
The table above lists the most commonly used upgrades according to community testing, though exact material requirements may vary slightly between game versions. Each upgrade consumes the listed materials permanently, so you cannot recover them if you later decide to scrap the item. This makes upgrade decisions feel weighty, especially in the early game when every scrap of metal counts.
Upgrade Priority for New Players
If you are just starting out, focus your first upgrades on your primary tool rather than spreading materials across multiple items. A single well-upgraded axe outperforms three mediocre tools in almost every scenario, because the durability and efficiency gains compound with regular use. The Permafrost crafting guide explains how to unlock the workbench and access the full upgrade menu.
Your second priority should be your warmest clothing layer, because cold drain is a silent killer that forces you to end expeditions early. Applying a Thermal Coating to your best jacket extends your safe outdoor time by a meaningful margin, which translates directly into more loot gathered per run. After that, upgrade your backup weapon so you always have a functional fallback if your primary breaks mid-fight.
One mistake new players make is hoarding upgrade materials for a "perfect" item that never comes. The reality is that early-game gear will be replaced eventually, so investing in modest upgrades now is better than saving everything for a late-game item you have not found yet.
Field Repair Strategies and Emergency Fixes
Not every repair happens at a comfortable workbench, which is why knowing how to perform permafrost equipment repair in the field is a survival skill worth mastering. The game includes a portable repair kit that lets you restore a limited amount of durability without returning to base, though the efficiency is lower than a proper workbench repair. Field repairs are best used to get a broken tool back to functional status just long enough to finish a task or escape danger.
The portable repair kit consumes the same materials as a workbench repair but restores only about 60 percent of the durability you would get from a full repair. This means field repairs are a stopgap, not a replacement for proper maintenance. Carrying one or two kits on long expeditions is standard practice for experienced players.
| Repair Method | Durability Restored | Material Efficiency | Risk Level |
|---|---|---|---|
| Workbench Repair | 100% | 100% | None |
| Portable Kit | 60% | 70% | Low |
| Emergency Patch | 25% | 50% | Medium |
| Improvised Binding | 10% | 30% | High |
The table above shows why workbench repairs are always preferred when available. The Emergency Patch and Improvised Binding options are last-resort measures that can save your life in a pinch but should never be your primary maintenance strategy. Improvised Binding in particular has a high risk of failing entirely, which wastes materials and leaves you with a still-broken tool.
Managing Repair Materials Efficiently
Repair materials are not infinite, so you need a system for keeping track of what you have and what you need. Scrap metal is the most common repair material and can be found by breaking down broken tools, looting industrial areas, or dismantling certain furniture. Alloy plates are rarer and typically come from military or research locations.
A good habit is to designate one storage container at your base as the "repair depot" and deposit all repair materials there immediately after returning from a run. This prevents the frustrating situation of having materials scattered across multiple containers when you urgently need to fix your weapon. The Permafrost best gear guide covers inventory management strategies in more detail.
When you find a broken tool in the wild, do not automatically discard it. Broken tools can be dismantled into scrap metal, which is often more valuable than the tool itself would be even if repaired. This creates a sustainable loop where every expedition yields repair materials regardless of whether you find intact loot.
Permafrost Gear Progression: Building a Reliable Loadout
Understanding permafrost gear progression is about recognizing that your equipment evolves through distinct phases, each with its own priorities and challenges. The early game is about survival basics: getting any functional tool into your hands and keeping it working. The mid-game shifts toward specialization, where you start building tools for specific tasks like hunting, woodcutting, or combat. The late game is about optimization, where every upgrade and repair decision is made with maximum efficiency in mind.
This progression is not just about finding better items; it is about developing the habits and infrastructure that make good gear sustainable. A player who rushes to find a rare weapon but has no repair materials will lose that weapon within days. A player who builds a solid repair depot and upgrade bench first will keep modest gear running indefinitely.
| Progression Phase | Typical Gear | Primary Challenge | Key Focus |
|---|---|---|---|
| Early Game | Stone tools, cloth clothing | Finding any functional gear | Basic repairs |
| Mid Game | Salvaged metal, layered clothing | Specialization | Targeted upgrades |
| Late Game | Forged steel, composite armor | Optimization | Efficiency |
| End Game | Reinforced composite, thermal gear | Sustainability | Perfect loadout |
The table above outlines the general arc of progression according to community data, though individual playstyles will shift the exact timing. Some players rush military outposts early to skip ahead, while others prefer a slow, methodical expansion from their starting shelter. Both approaches are viable as long as you maintain your repair infrastructure.
Transitioning Between Gear Tiers
The jump from one gear tier to the next is where many players stumble, because the new tier often requires materials you have not been collecting. Moving from stone tools to salvaged metal requires a steady supply of scrap metal, which means you need to start dismantling every broken item you find rather than discarding it.
Moving from salvaged metal to forged steel is a bigger leap, because alloy plates are rare and often guarded. The official Permafrost on Steam page confirms that the game is designed around this scarcity, forcing players to make deliberate choices about which items to upgrade first. Community reports suggest that focusing on your primary weapon and warmest clothing layer is the most efficient path through the mid-game.
Do not scrap your old gear immediately after upgrading. Keeping a backup set of lower-tier tools means you always have something functional if your main gear breaks and you cannot repair it right away. This redundancy is cheap insurance against the worst-case scenario of being caught in a storm with no working equipment.
Frequently Asked Questions
How do I repair broken gear in Permafrost?
You need a workbench and the appropriate repair materials, which vary by item tier. Open the workbench interface, select the damaged item, and confirm the repair. Field repairs are possible with a portable kit but restore less durability than a full workbench repair.
Where can I find weapons early in the game?
Abandoned cabins and research stations are the most reliable early sources, though many containers are frozen or locked. Carry a crowbar to access locked containers, which have a higher chance of containing intact weapons. Buried vehicles occasionally hold firearms but require a shovel to access.
What materials do I need for equipment upgrades?
Upgrade materials depend on the specific upgrade, but common requirements include scrap metal, alloy plates, cloth, and composite fibers. Scrap metal comes from dismantling broken tools, while alloy plates are found in military and research locations. Check the workbench for exact costs.
Can I repair gear without a workbench?
Yes, portable repair kits allow field repairs but restore only about 60 percent of normal durability. Emergency patches and improvised bindings are also possible but carry higher failure risks. Always prioritize workbench repairs when you have the option.
How does gear progression work in Permafrost?
Gear progression moves through distinct tiers, from improvised stone tools to salvaged metal, forged steel, and finally reinforced composite. Each tier requires rarer materials and offers significantly better durability and performance. Focus on upgrading your primary tool and warmest clothing first.