
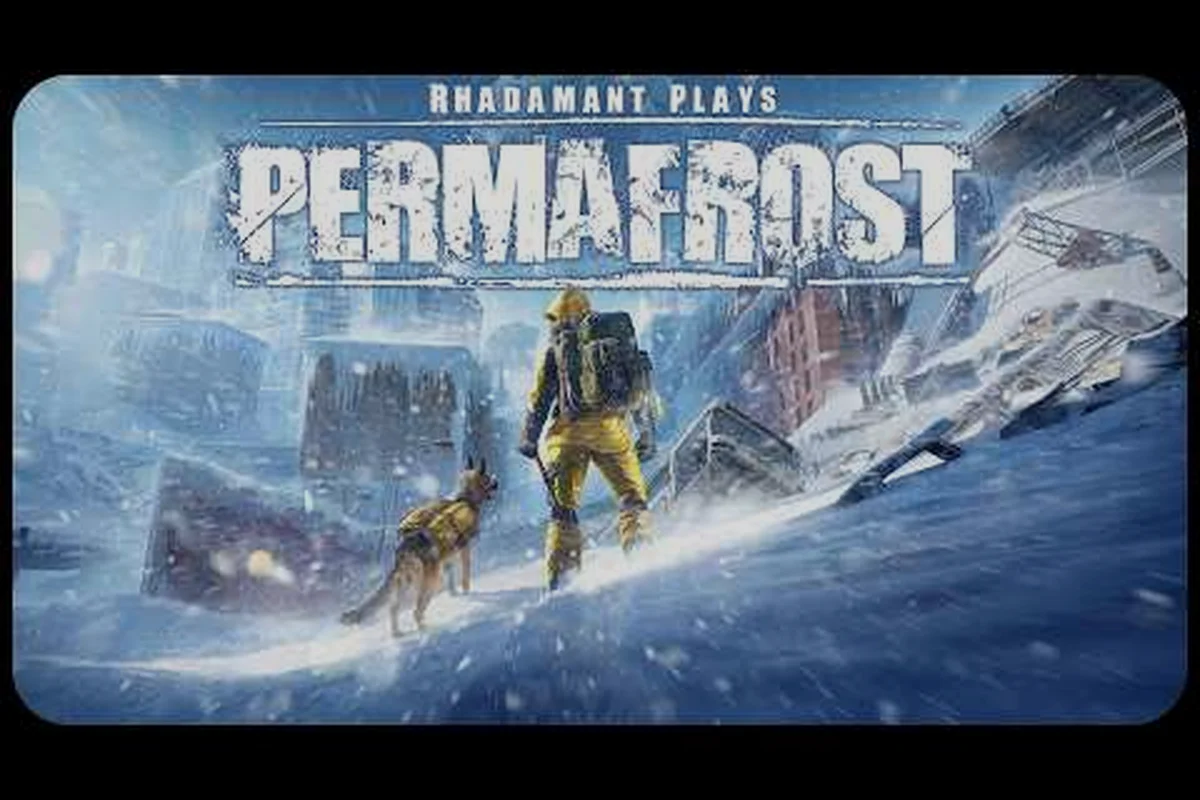
Your permafrost border collie is more than a cosmetic follower—it is a mobile inventory expansion, an early-warning system, and a silent pack mule that can mean the difference between reaching camp and freezing to death under a collapsed supply run. Understanding the full command set, skill priorities, and pack storage mechanics transforms this rescued companion from a liability into the single most efficient survival tool in the frozen wastes. This guide breaks down every practical layer of dog management so you can haul more loot, scout safer routes, and keep your partner alive through the endless winter.
Understanding the Permafrost Border Collie Companion
The permafrost border collie enters your survival loop as a rescued animal, not a purchased upgrade, which means its baseline behavior is shaped by trust and proximity rather than a simple toggle. According to the official Permafrost on Steam page, your canine ally stays beside you even when the freezing quiet swallows everything else, ranging ahead to scout, alerting you to threats, and hauling supplies. That description is not flavor text—it maps directly to three mechanical systems: scout radius, threat alert timing, and pack capacity.
Because the dog operates on a proximity-based AI rather than a direct-control scheme, players often misinterpret its hesitation as a bug. In practice, the companion evaluates three variables before acting: distance to player, line-of-sight obstacles, and current threat level. When any of these variables spikes, the dog may refuse a command or return to heel position, which is why understanding the command hierarchy matters before you rely on it during a blizzard extraction.
| Companion Attribute | Baseline Value | Practical Impact |
|---|---|---|
| Scout Radius | ~25-35 meters | Early warning for predators and loot caches |
| Pack Slots | 6-8 slots | Mobile storage for food, meds, and salvage |
| Threat Alert Delay | 1.5-2 seconds | Time to react before a predator closes |
| Heel Return Speed | Moderate | Faster on clear terrain, slower in deep snow |
| Stamina Drain | Low passive | Increases during sprint-scout commands |
The border collie's breed-specific behavior matters here. Unlike heavier working dogs, the collie prioritizes speed and maneuverability over raw carry weight, which means its pack storage is smaller than a sled dog's but its threat detection is noticeably faster. Players who treat it as a pure pack mule will hit the inventory ceiling quickly, while those who lean into the scouting role get far more value from the same companion.
Mastering Permafrost Dog Commands
The permafrost dog commands system is built around a radial menu and contextual keybinds, not a free-form voice or text parser. Every command falls into one of four categories: movement, interaction, inventory, and alert state. Learning the exact input sequence for each category prevents the common failure where the dog stands idle while a predator closes in.
Core Command List and Inputs
Because the game does not display a persistent command bar, new players often forget that the radial menu pauses the action. That pause is intentional—it gives you time to select the right command while the dog holds position. The following table covers the essential inputs and their battlefield roles.
| Command | Default Input | Function | Best Use Case |
|---|---|---|---|
| Heel | Hold Q | Dog returns to side, stops scouting | Before entering buildings or narrow passes |
| Scout | Tap Q | Dog moves ahead, marks threats | Open tundra, abandoned camps |
| Stay | Hold E | Dog holds position, no follow | Ambush setups, inventory sorting |
| Fetch | Tap E | Dog retrieves targeted item | Salvage runs, dropped gear |
| Guard | Hold R | Dog circles camp, alerts on approach | Night rest, crafting sessions |
| Release | Tap R | Dog returns to free-roam mode | Safe zones, base interiors |
The Stay command is the most misunderstood. When you issue Stay, the dog does not become passive—it enters a high-alert hold state that drains stamina slightly faster than free-roam. Players who leave the dog on Stay for extended crafting sessions often return to find it exhausted, which reduces its threat detection range until it rests. The companion guide on how to get and manage your dog covers the rescue sequence in detail, but the command layer here is what determines daily survival efficiency.
Command Priority and Override Rules
The dog's AI does not treat all commands equally. Alert commands override movement commands, which means a predator detection will cancel a Scout order and force the dog back to heel. This override is intentional and life-saving, but it can feel like a bug when you are trying to reposition during a fight. Understanding the priority chain lets you predict behavior instead of fighting it.
| Priority Level | Command Type | Override Trigger |
|---|---|---|
| 1 (Highest) | Threat Alert | Predator within scout radius |
| 2 | Guard | Any hostile approach |
| 3 | Heel | Player issues recall |
| 4 | Scout / Fetch | No active threat |
| 5 (Lowest) | Free-Roam | Default idle state |
Because threat alerts sit at the top of the chain, you cannot force the dog to scout into a known predator den. The AI will refuse the command and return to heel, which is why experienced players use the dog as a detection tool first and a pack carrier second. If your dog is not following commands at all, the issue is usually a broken trust state or a stamina deficit, both of which are covered in the troubleshooting guide for unresponsive dogs.
Permafrost Dog Skills and Progression
The permafrost dog skills system is not a traditional skill tree with points to spend. Instead, the dog improves through repeated action usage and bonding events, which means the skills you use most often level up naturally. This passive progression rewards consistent play patterns but punishes players who ignore the dog for long stretches.
Skill Categories and Leveling
There are five core skill tracks, each tied to a specific behavior loop. The Scouting track improves detection range and mark duration, while the Carrying track increases pack slots and reduces stamina drain while loaded. The Loyalty track affects command response speed and override resistance, which becomes critical during high-stress extractions.
| Skill Track | Primary Effect | Leveling Method | Soft Cap |
|---|---|---|---|
| Scouting | +Detection range, +Mark duration | Issue Scout commands | Level 5 |
| Carrying | +Pack slots, -Stamina drain | Load pack to capacity | Level 4 |
| Loyalty | +Command speed, +Override resistance | Feed, pet, and heel regularly | Level 6 |
| Combat Assist | +Harass duration, +Distraction chance | Fight near dog | Level 3 |
| Endurance | +Stamina pool, +Recovery rate | Travel long distances | Level 4 |
The Loyalty track is the hidden backbone of the entire system. A dog with low Loyalty will hesitate on commands, refuse to enter dangerous areas, and sometimes abandon the player during a blizzard. Players who rush the Carrying track without investing in Loyalty often find themselves with a large pack and an unreliable partner, which is a losing trade in the late game.
Practical Skill Priorities
Because skill progression is passive, you cannot simply grind one track to max without using the others. The most efficient early-game pattern is to alternate Scout and Heel commands while keeping the pack partially loaded, which levels three tracks simultaneously. The following priority list reflects community testing as of the current patch.
-
Loyalty to Level 3 first — unlocks reliable command response and prevents mid-fight abandonment
-
Carrying to Level 2 second — adds two pack slots early, which compounds over every run
-
Scouting to Level 3 third — extends detection range enough to avoid most ambushes
-
Endurance to Level 2 fourth — reduces stamina drain during long supply runs
-
Combat Assist last — useful but situational, only matters for aggressive playstyles
The dog's skill progression is slow by design, which means every command you issue is an investment. Players who spam Scout on safe terrain level the skill quickly but waste stamina, while those who save commands for real threats progress slower but stay ready for emergencies. The balance point is issuing commands with intent rather than on cooldown.
Optimizing Permafrost Dog Inventory and Pack Storage
The permafrost dog inventory is the most tangible benefit of the companion system, but it is also the easiest to mismanage. The pack is not a bottomless chest—it has slot limits, weight considerations, and access restrictions that change based on the dog's position and state. Understanding these constraints turns the pack into a reliable extension of your own carry capacity.
Pack Capacity and Slot Management
The base pack starts at six slots, with each slot holding a single item stack. Unlike player inventory, the dog pack does not use a weight system in the traditional sense—instead, stack size limits and item type restrictions determine what fits. Bulk resources like wood and stone stack higher than medical supplies, which means the pack is better suited for raw materials than specialized gear.
| Item Type | Stack Limit in Dog Pack | Player Stack Limit | Efficiency Rating |
|---|---|---|---|
| Wood / Stone | 30 | 50 | High |
| Food / Water | 10 | 20 | Medium |
| Medical Supplies | 5 | 10 | Low |
| Ammunition | 40 | 60 | High |
| Crafted Gear | 1 | 1 | Very Low |
| Salvage Components | 15 | 25 | Medium |
The efficiency rating matters because it determines what you should actually put in the pack. Bulk resources and ammunition are the best candidates, while crafted gear and medical supplies waste slots that could hold more valuable salvage. Players who fill the pack with single-slot gear items are effectively halving their mobile storage capacity.
Access Rules and Transfer Mechanics
The permafrost dog pack is only accessible when the dog is within interaction range and not in a high-alert state. During combat or threat alerts, the pack locks automatically, which prevents you from grabbing supplies mid-fight. This lock is frustrating but realistic—the dog is focused on survival, not inventory management.
| Dog State | Pack Access | Transfer Speed | Notes |
|---|---|---|---|
| Heel | Full access | Normal | Best time to sort inventory |
| Free-Roam | Full access | Normal | Dog must be nearby |
| Scout | No access | N/A | Dog is out of range |
| Guard | Limited access | Slow | Dog is alert, not focused |
| Threat Alert | Locked | N/A | Combat state |
The Heel state is the only reliable time to manage the pack, which means inventory sorting should happen at camp or in cleared buildings, never during exploration. Players who try to grab supplies while the dog is scouting will find the pack inaccessible, leading to wasted time and potential exposure to the cold. The insulation and inventory guide covers player-side storage optimization, but the dog pack follows its own set of rules that require separate planning.
Advanced Companion Strategies for the Frozen Wastes
Once you understand the individual systems, the real depth of the permafrost border collie emerges in how the commands, skills, and inventory interact during high-stakes runs. The difference between an average player and an efficient survivor is not raw skill—it is companion choreography, the art of positioning the dog to cover your blind spots while extending your carry capacity.
The Scout-and-Haul Loop
The most efficient supply run pattern is a scout-and-haul loop that alternates between detection and collection phases. During the scout phase, the dog moves ahead and marks threats, giving you time to plan your route. During the haul phase, the dog returns to heel and accepts inventory transfers while you loot the cleared area.
-
Phase 1 — Scout: Issue Scout command, follow at a safe distance, note marked threats
-
Phase 2 — Clear: Eliminate or avoid marked threats, move to loot location
-
Phase 3 — Haul: Recall dog with Heel, transfer bulk resources to pack
-
Phase 4 — Repeat: Issue Scout again, move to next loot cluster
This loop maximizes both threat detection uptime and pack utilization, but it requires discipline. Players who skip the Scout phase and rush into loot areas often trigger ambushes that force the dog into alert state, locking the pack exactly when they need it most.
Blizzard Extraction Protocol
During a blizzard, the dog's behavior changes dramatically. Visibility drops, stamina drains faster, and threat detection becomes unreliable, which means your normal command patterns no longer apply. The extraction protocol below is based on community reports from players who have survived multiple whiteout conditions.
| Blizzard Factor | Dog Behavior Change | Recommended Response |
|---|---|---|
| Low Visibility | Scout range reduced by 50% | Keep dog at Heel, rely on map |
| High Wind | Command response delayed | Issue commands early, not reactively |
| Cold Snap | Stamina drain doubled | Limit Scout usage, prioritize Heel |
| Predator Activity | Alert threshold lowered | Expect more false alerts |
The key adjustment is to stop using Scout during blizzards. The reduced detection range makes the command nearly useless, while the doubled stamina drain means every Scout order burns resources you need for the trek home. Instead, keep the dog at Heel and use it purely as a pack carrier until visibility improves.
Companion Loadout Optimization
The final layer of optimization is matching your dog's skill levels to your playstyle. A scout-focused build prioritizes Scouting and Loyalty, while a haul-focused build pushes Carrying and Endurance. The table below shows the recommended skill distribution for each archetype.
| Archetype | Primary Skills | Secondary Skills | Best For |
|---|---|---|---|
| Scout Specialist | Scouting 5, Loyalty 4 | Endurance 3 | Solo exploration, ambush avoidance |
| Pack Mule | Carrying 4, Endurance 4 | Loyalty 3 | Resource farming, base building |
| Combat Partner | Combat Assist 3, Loyalty 5 | Scouting 2 | Aggressive playstyles, predator hunting |
| Balanced Survivor | Loyalty 4, Scouting 3 | Carrying 3 | General progression, new players |
The Balanced Survivor archetype is the safest starting point because it keeps the dog reliable while still providing meaningful pack expansion. Once you understand your own play patterns, you can respecialize toward Scout Specialist or Pack Mule depending on whether you value early warning or carry capacity more.
Frequently Asked Questions
How do I increase my permafrost border collie's pack storage?
Pack storage increases through the Carrying skill track, which levels up when you load the pack to capacity and travel with it. Each level adds one to two slots, up to a soft cap of four levels. Focus on hauling bulk resources like wood and stone to level the skill efficiently.
Why does my dog ignore commands during combat?
The dog's threat alert override takes priority over all movement commands, which means it will refuse Scout or Fetch orders while a predator is nearby. This is intentional behavior, not a bug. Wait until the threat is eliminated or the alert state clears before issuing new commands.
Can the permafrost border collie die?
Yes, the dog has a health pool and can die if it takes too much damage or succumbs to extreme cold. The dog scout and health guide covers survival mechanics in detail, including feeding requirements and danger avoidance. Keep the dog out of direct predator fights and monitor its stamina during long expeditions.
What is the best item type to store in the dog pack?
Bulk resources and ammunition are the most efficient items because they stack high and free up your own inventory for specialized gear. Avoid storing crafted weapons or armor in the pack, as they take a full slot each and provide no stacking benefit.
How do I level up the Loyalty skill quickly?
Feed the dog regularly, issue Heel commands during safe periods, and pet it at camp. Loyalty levels through consistent positive interaction, not combat or exploration. Players who ignore the dog for long stretches will see command response times degrade, so make bonding a daily routine.