
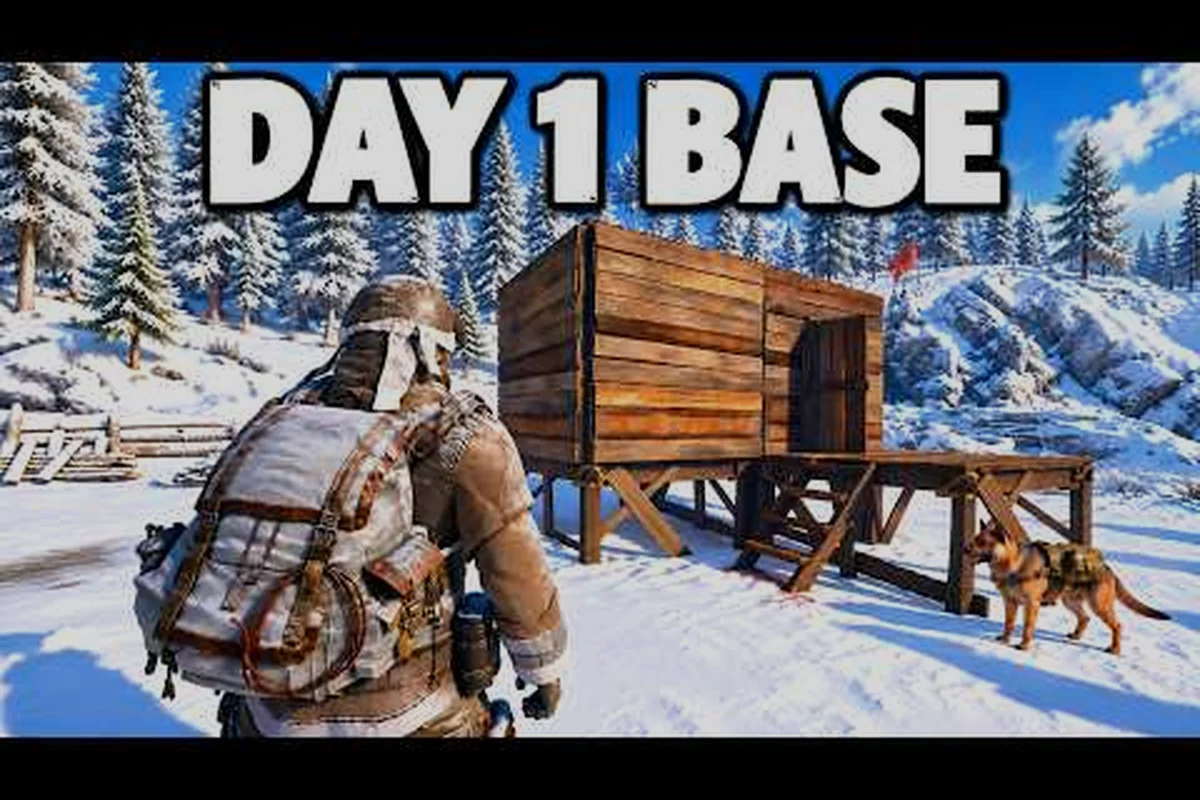
Cold is not a background effect in Permafrost. It is the primary antagonist, a living pressure that shapes every decision from the moment you leave a shelter. Mastering permafrost cold survival means understanding that temperature management, not combat or resource hoarding, determines whether you see the next sunrise. The game's weather system punishes improvisation, but rewards players who treat warmth as a renewable resource rather than a comfort.
Understanding the Permafrost Weather System
The permafrost weather system operates on a layered model that most survival games simplify into a single temperature bar. Instead, Permafrost tracks ambient temperature, wind chill, precipitation state, and shelter integrity as separate variables that interact in predictable but punishing ways. According to the official Permafrost on Steam page, the cold is described as "alive and ever-present," which matches how the game treats weather as an active opponent rather than a passive debuff.
Community testing has mapped the core weather states into a rough hierarchy of threat levels. Clear skies with low wind allow extended travel, while overcast conditions drop ambient temperature by roughly 8-12 degrees. Snowfall adds a wetness penalty that accelerates heat loss by 35%, and full blizzard conditions combine all penalties while cutting visibility to near zero. The key insight from player reports is that wind chill matters more than base temperature — a -15°C day with 30 km/h winds drains heat faster than a -25°C still day.
| Weather State | Ambient Temp | Wind Chill | Heat Drain Rate | Travel Viability |
|---|---|---|---|---|
| Clear | -10°C to -20°C | Low | Baseline | High |
| Overcast | -18°C to -28°C | Moderate | 1.4x | Moderate |
| Light Snow | -22°C to -32°C | Moderate | 1.8x | Low |
| Blizzard | -30°C to -45°C | Severe | 2.5x+ | None |
Reading the Sky Before You Commit
Experienced players develop a habit of reading cloud density and wind direction before leaving any shelter. The game provides visual cues that are easy to miss if you sprint toward objectives: darkening cloud bands on the horizon signal an incoming front, while sudden drops in ambient sound often precede a blizzard by 30-60 seconds. Because the weather system uses procedural storm generation rather than fixed timers, no two runs face identical conditions.
The most reliable early warning comes from your canine companion, who will whine and circle when a storm is approaching. This behavior has been confirmed across multiple community reports and serves as a critical survival tool during the first hours, before you unlock advanced gear. Treat the dog's anxiety as a countdown timer, not flavor animation.
Building Cold Resistance Through Layered Gear
Permafrost cold resistance is not a single stat you raise by equipping one item. It emerges from the interaction between base insulation, windproofing, and moisture management across multiple clothing slots. The game's crafting system gates the best cold-weather gear behind story progression, which means early-game survival depends on understanding how to maximize what you can scavenge.
The clothing temperature ranges mentioned in the official deep dive trailer form the foundation of the system. Each garment has a comfort range — a temperature band where it provides full insulation. Below that range, heat loss accelerates; above it, you risk sweating, which creates a wetness penalty that becomes dangerous when temperatures drop again. This creates a counterintuitive rule: overdressing is as dangerous as underdressing during high-exertion activities like sprinting or chopping wood.
| Gear Slot | Early Game Option | Mid Game Option | Cold Resist Contribution |
|---|---|---|---|
| Head | Wool Cap | Insulated Hood | 8-15% |
| Torso | Patched Parka | Thermal Lined Coat | 25-40% |
| Hands | Cloth Wraps | Fur Mittens | 5-10% |
| Legs | Reinforced Pants | Insulated Trousers | 15-25% |
| Feet | Worn Boots | Fur-Lined Boots | 10-20% |
The Wetness Trap Most Players Miss
The wetness mechanic is the silent killer in permafrost cold survival. When your clothing gets wet from snow, falling through ice, or sweating, its insulation value drops by up to 60%. Many new players die not because they lacked gear, but because they kept moving in wet clothes while the temperature plummeted. The fix is simple but often ignored: stop and dry off near any heat source before continuing.
Community data suggests that fire proximity restores clothing dryness at roughly 1% per second, meaning a full dry cycle takes about 90 seconds. This feels slow during a tense moment, but it is dramatically faster than the heat loss you suffer while wet. The body temperature management guide covers the full interaction between wetness, hunger, and core temperature if you want to optimize your early-game routine.
How to Stay Warm During Extended Travel
Permafrost how to stay warm is less about finding better gear and more about managing heat sources as a mobile resource. The game gives you several tools that work differently depending on whether you are stationary or moving. Understanding these differences separates players who thrive in the endless winter from those who limp between shelters.
The heat pack is your primary mobile warmth tool. Crafted from scavenged chemicals and cloth, it provides a 15-minute warmth buff that raises your effective temperature by roughly 8°C. The catch is that heat packs are consumed on use and cannot be refilled, making them a limited strategic resource rather than a passive upgrade. Save them for blizzard crossings or emergency frostbite recovery.
-
Campfire: Best for stationary warmth and drying clothes. Requires fuel and time to establish. Leaves a visible smoke trail that can attract wildlife or hostile survivors.
-
Heat Pack: Mobile warmth buff lasting 15 minutes. Crafted from chemicals and cloth. Cannot be reused.
-
Hot Food/Drink: Provides a short-term warmth spike of 5-10 minutes depending on the recipe. Requires a fire to prepare.
-
Shelter Microclimate: Any enclosed space with a door raises ambient temperature by 10-15°C, even without a fire.
Timing Your Movement Between Heat Sources
The most effective travel strategy is leapfrogging between heat sources rather than pushing toward a distant objective. Plan routes that pass near abandoned buildings, rock overhangs, or dense tree clusters where you can establish a quick fire. Each stop should serve double duty: restore heat, dry clothing, and reassess the weather.
Because stamina drains faster in extreme cold, your movement speed drops by up to 25% when your core temperature falls below the shivering threshold. This creates a death spiral: slower movement means more time exposed, which means more heat loss, which means slower movement. Breaking the cycle requires recognizing the threshold early and committing to a fire before you hit critical levels.
Permafrost Blizzard Survival Tactics
Permafrost blizzard survival is the ultimate test of preparation. Blizzards combine severe wind chill, near-zero visibility, and rapid heat drain into a scenario where movement becomes actively dangerous. The game's blizzard events can last anywhere from 5 to 20 minutes of real time, and they rarely announce themselves with more than a minute of warning.
The first rule of blizzard survival is do not travel. Visibility drops to a few meters, landmarks disappear, and the wind pushes you off course even when you think you are walking straight. Players who attempt to push through a blizzard report disorientation spirals where they end up walking in circles while their heat bar drains to zero. The second rule is find or create shelter immediately — any enclosed space beats open ground, even if it lacks a heat source.
| Blizzard Phase | Duration | Primary Threat | Recommended Action |
|---|---|---|---|
| Approach | 30-60 sec | False confidence | Identify shelter, gather fuel |
| Onset | 1-3 min | Rapid temp drop | Get inside, start fire |
| Peak | 5-15 min | Heat drain + disorientation | Stay put, manage resources |
| Clearing | 2-5 min | Lingering wind chill | Wait for full clear before travel |
Emergency Shelters When You Are Caught Exposed
If a blizzard catches you far from any building, you have limited but viable options. The snow cave is the most reliable emergency shelter: dig into a drift using your shovel, create a small enclosed space, and your body heat alone will raise the interior temperature by 10-15°C above ambient. The tradeoff is time — digging takes 30-45 seconds, which feels like an eternity while your heat bar drops.
A faster but riskier option is the windbreak fire: find a rock face or dense tree line, build a fire on the leeward side, and huddle against the natural barrier. This works for short blizzards but fails during peak conditions when wind direction shifts. The canine companion provides a small warmth bonus when you huddle together, which can be the difference between surviving and freezing during unexpected storms.
How to Avoid Frostbite and Manage Its Effects
Permafrost how to avoid frostbite starts with understanding the frostbite meter as a separate system from core temperature. Frostbite accumulates on exposed body parts — hands, face, feet — whenever the effective temperature drops below -20°C. Unlike core temperature, which recovers quickly near a fire, frostbite damage is semi-permanent and requires specific treatment.
The frostbite system progresses through three stages. Stage one causes numbness and a slight movement penalty, but clears once you warm the affected area. Stage two causes visible discoloration and a 15% dexterity penalty that affects crafting speed and weapon handling. Stage three is permanent tissue damage that reduces maximum health until you find advanced medical supplies. Most deaths from frostbite happen because players ignore stage one and two warnings while focused on other tasks.
| Frostbite Stage | Trigger Temp | Effects | Recovery Method |
|---|---|---|---|
| Stage 1 | Below -20°C | Numbness, minor penalty | Warm area near fire |
| Stage 2 | Below -30°C | 15% dexterity loss | Warm + bandage |
| Stage 3 | Below -40°C | Permanent HP reduction | Advanced medkit only |
Protecting Vulnerable Extremities
The game tracks frostbite on four body zones independently: hands, feet, face, and torso. Hands and face are the most vulnerable because they are often exposed during activities like scavenging or aiming. The face slot is particularly dangerous because early-game headgear rarely covers it, leaving you exposed during every outdoor activity.
Crafting fur mittens and insulated boots should be an early priority, not an afterthought. These two slots provide disproportionate frostbite protection relative to their material cost. The weapons and gear guide details which crafting recipes unlock the best cold-weather equipment and when you can expect to access them.
Advanced Storm Survival Strategies
Once you have mastered the basics of permafrost cold survival, the game opens up strategic depth that rewards planning over reaction. Permafrost how to survive storms at an advanced level means treating weather as a resource to exploit rather than an obstacle to endure. Storms drive wildlife into predictable patterns, clear the map of hostile survivors, and create opportunities for safe travel through areas that are normally dangerous.
Experienced players use blizzard windows to raid locations that are heavily guarded during clear weather. The reduced visibility works both ways: enemies cannot see you any better than you can see them. This strategy requires high cold resistance and pre-planned shelter routes, but it opens up loot opportunities that are otherwise locked behind combat encounters you might not win.
The Storm Cycle as a Planning Tool
The storm cycle in Permafrost follows a loose pattern that attentive players can exploit. Clear weather typically lasts 20-40 minutes, followed by a building phase of 5-10 minutes where clouds gather and wind picks up. Storms then hit for 10-20 minutes before clearing. This cycle is not fixed, but the building phase provides a reliable window for returning to shelter or positioning yourself near a planned destination.
Tracking the cycle requires no special tools — just paying attention to the sky and your canine companion's behavior. Players who internalize this rhythm stop being surprised by storms and start using them as cover for risky moves. The beginner survival guide covers the first-hour priorities that set you up for this kind of strategic play.
Frequently Asked Questions
What is the fastest way to build cold resistance early?
Focus on crafting fur mittens and insulated boots first, since hands and feet have the highest frostbite vulnerability. Scavenge every building for cloth and animal hides, and prioritize the torso slot next because it provides the largest single insulation boost. Avoid metal armor pieces, which conduct cold and reduce effective warmth.
How long can I survive outside in a blizzard?
With basic early-game gear, you have roughly 90 seconds to 2 minutes of safe exposure during peak blizzard conditions before frostbite begins. With mid-game insulated gear and a heat pack active, that window extends to 4-5 minutes. The safest approach is always to find shelter before the storm peaks rather than testing your limits.
Does eating hot food actually help with cold survival?
Yes, hot food and drink provide a 5-10 minute warmth buff that stacks with clothing insulation. The buff is most valuable during travel between shelters, when you cannot stop for a fire. Soups and stews provide longer buffs than simple roasted meat, so invest in cooking recipes when you can.
Can I sleep through a blizzard to skip it?
Sleeping is possible if your shelter has a bed and a heat source, but you cannot sleep through the storm timer. The game accelerates time during sleep, but heat drain continues at a reduced rate. If your fire goes out while sleeping, you can wake up with severe frostbite or die. Always ensure your fire has enough fuel for the full sleep duration.
What should I do if I get lost during a storm?
Stop moving immediately and assess your surroundings for any landmark or shelter. If you have a compass or can determine wind direction, use it to orient yourself. If visibility is too poor, dig a snow cave and wait out the storm — disorientation from wandering is more dangerous than the heat loss from staying put.